
Implementation team
4. Internal mentor
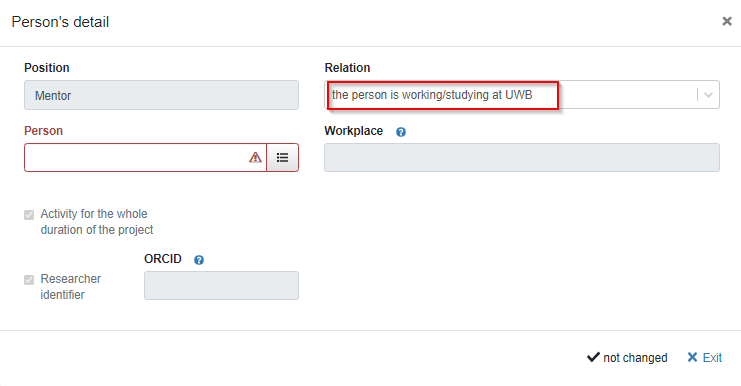
To add an internal mentor, hit  tab and once the form opens up, pick “the person is working/studying at UWB” from the “Relation” dropdown.
Figure 35: Implementation team – Internal mentor – picking „Relation“
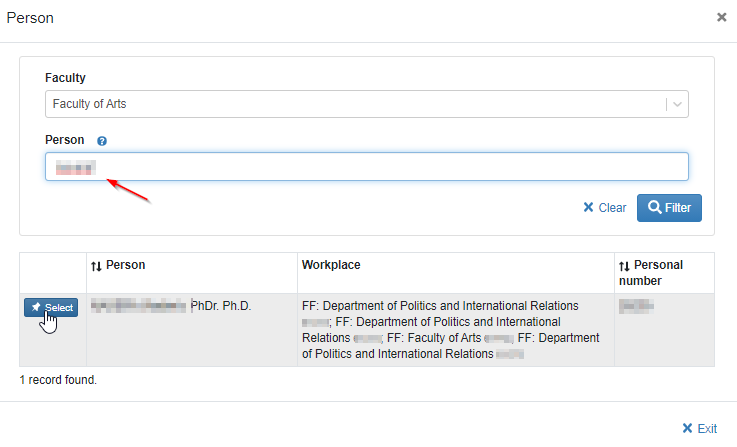
Next, select the person from the code list (the workplace will be automatically populated) – as described previously for co-implementors.
Figure 36: Implementation team – Internal mentor – person code list drop-down
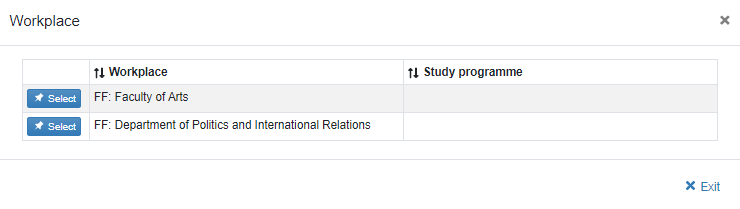
If there is more than one workplace listed, you need to pick one by clicking  .
Figure 37: Picking a workplace
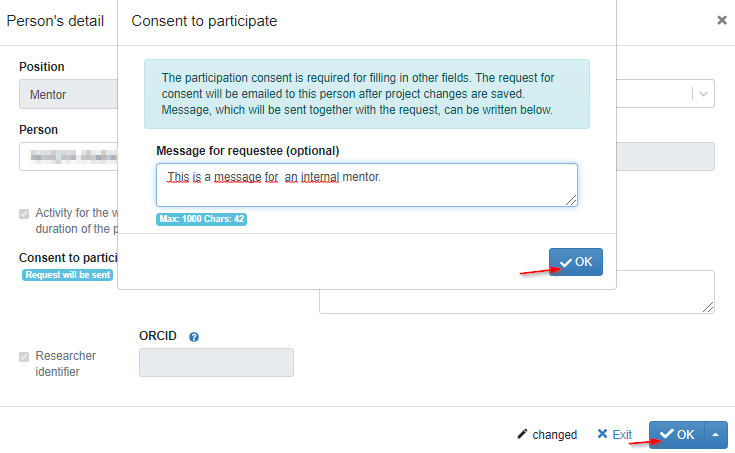
Again, confirm the sending of the approval request and hit  .
Figure 38: Implementation team – Internal mentor - confirming the participation consent to be sent
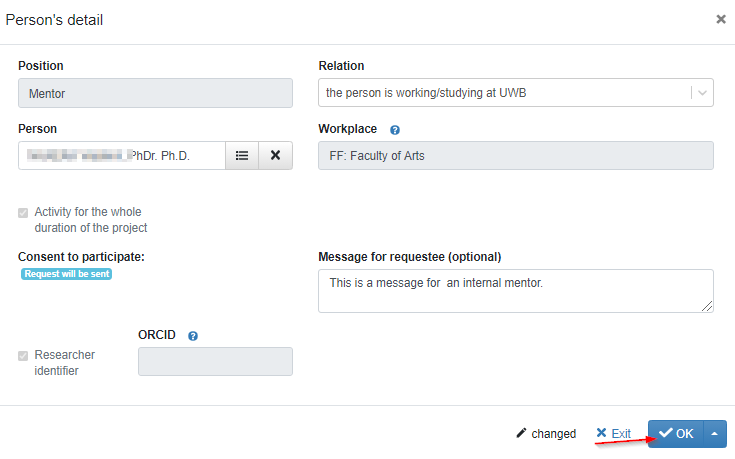
This is how the form for the internal mentor looks like. Again, click  to get back to “Implementation team” page.
Figure 39: Implementation team – Internal Mentor
This is how it will look like once you add your internal mentor.
Figure 40: Implementation team – newly added internal „Mentor“ record

When you hit  save icon in the bottom right corner of the page, you´ll need to approve the sending of the request for participation by clicking
 .
Your mentor receives project participation request email where he/she needs to click custom iszcu.zcu.cz and once logged into the “Implementation team” tab of your proposal, he/she needs to agree with the participation by clicking  button.
Figure 41: Implementation team – Internal mentor – approving participation

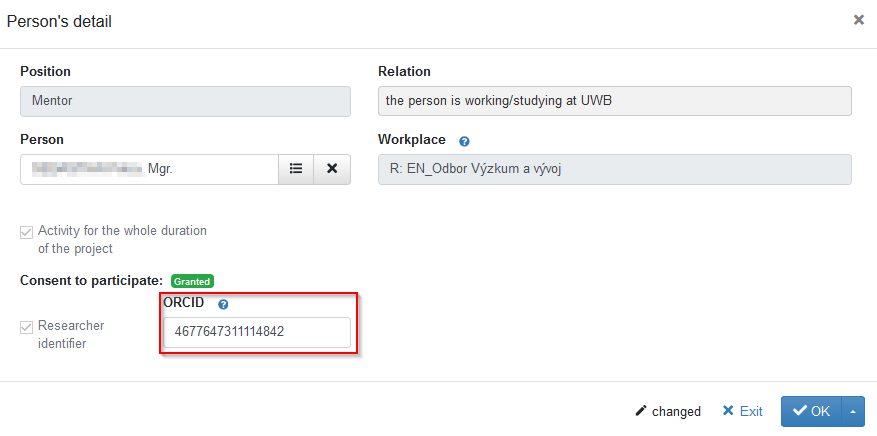
Next the mentor needs to click blue “Mentor” link and provide ORCID. Then the provided information must be confirmed by clicking  and saved by hitting
 icon in the bottom right corner of the page.
Figure 42: Completed internal „Mentor form“
This is how it looks once a mentor approves his/her participation and completes all necessary information:
Figure 43: Implementation team – Internal mentor – approved and completed record
